Hey there!
In below post, I have mentioned all the steps through which you can download and Install Ribbon Workbench and use it inside your environment. I have also mentioned the steps to use it directly from the XRM Tool Box.
If you are looking for same, please follow below steps or check the video here.
- Before we begin we should be having below 2 things ready.
Now, Let’s Begin.
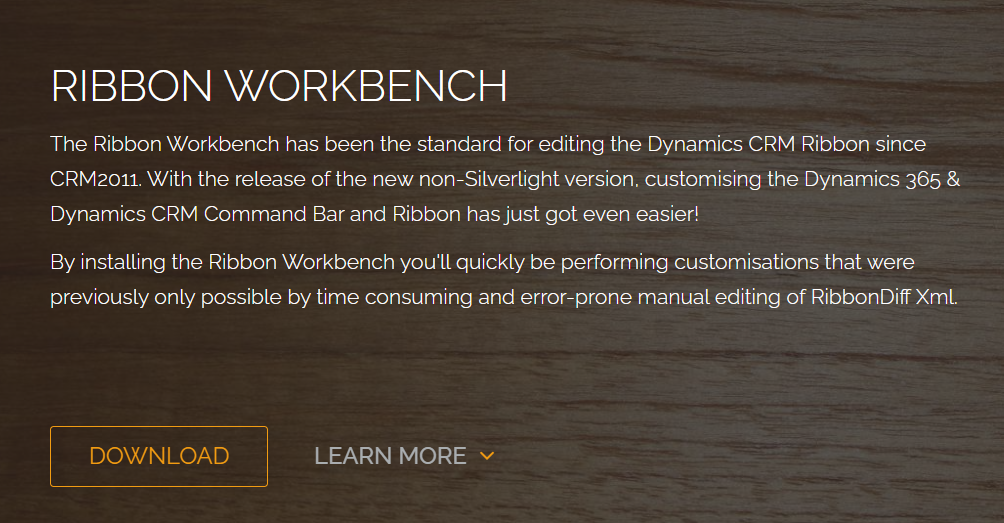
- First step is to download the Ribbon Workbench. So to download it, navigate to this link and follow below steps:
- Once you opened this link you will see download button.
- Click on download button and it will navigate you to a form.
- Provide your details and provide work email address to get the download link.
- On submit, it will send you download link.
- Download it from the link. It will download a zip managed file.
Now, for the installation, open your dynamics instance and navigate to settings -> Solution and follow below steps.
- Click on Import and select this solution and click Next and complete.
- It will take sometime to install the solution.
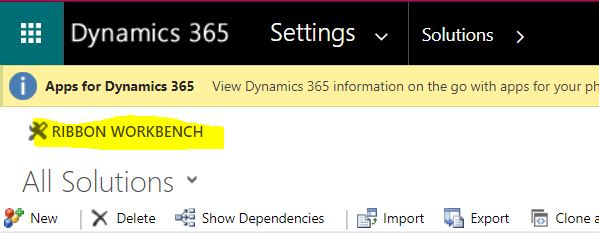
- Once installation is completed, you will see below heading in the settings->solution.
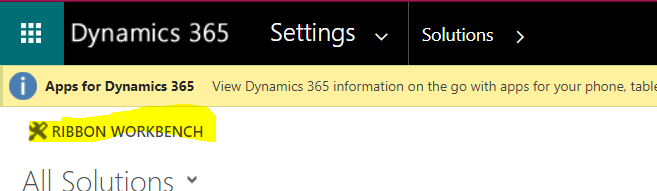
Click on this ‘Ribbon Workbench’ link to access your tool. 🙂
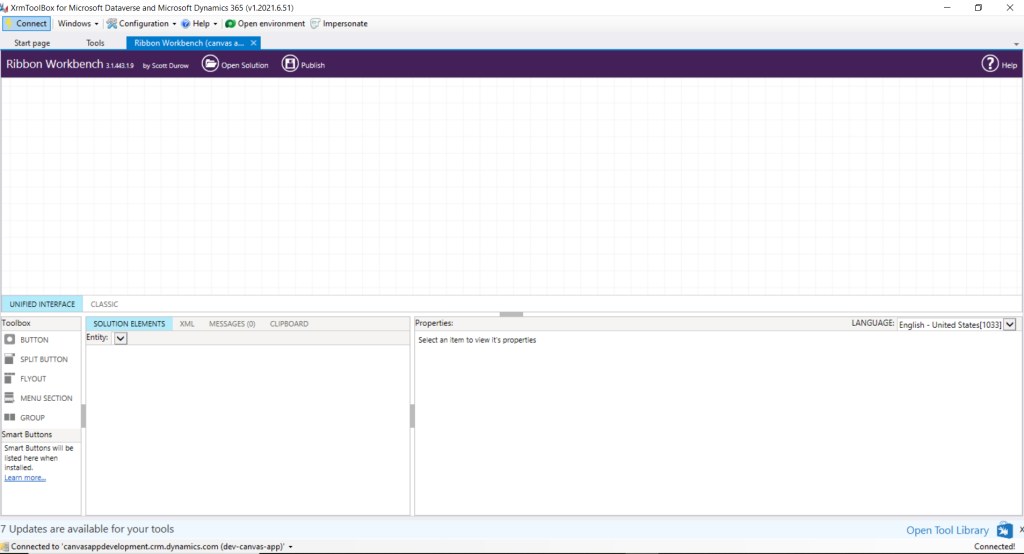
Using XRM toolbox also we can use ribbon workbench. It will be available under tools. Firstly, we can install ‘Ribbon Workbench’ from tools inside the XRM toolbox and then once installed we can use it inside XRM toolbox after connecting with our dynamics instance.

One thought on “Download and Install Ribbon Workbench – D365”